


First step in refurbishing is to remove the 4 screws on the bottom. Carefully seperate the black bottom from the remainder of the radio.

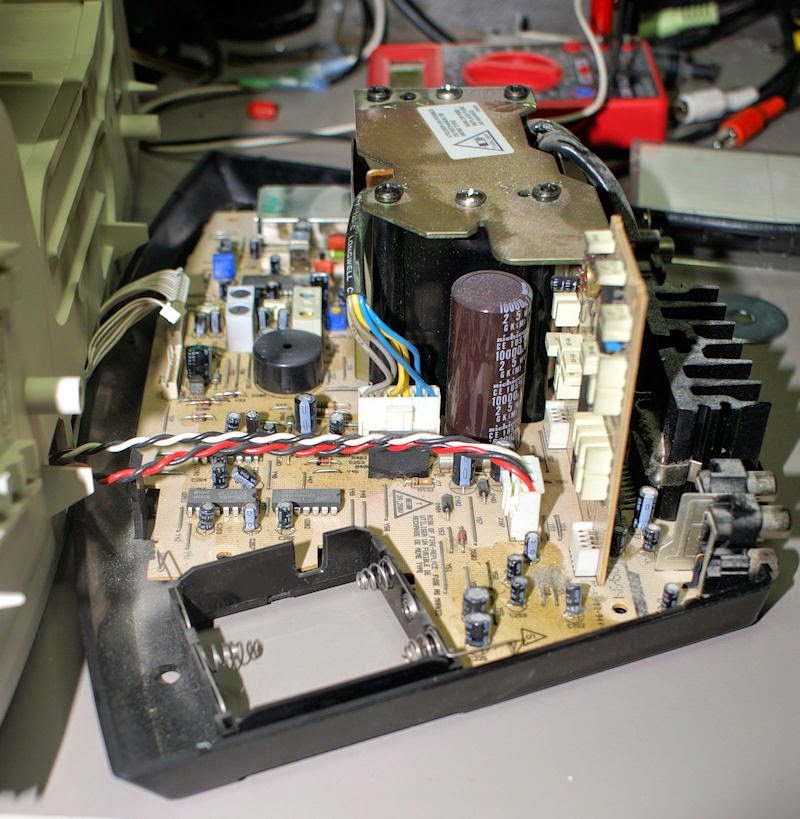
Remove the 4 screws from the plate on top of the power transformer, and the 2 connectors going to the board. Remove the power transformer, and equalizer board from the main board.
In the pictures above you will see some discoloration on the main board, that is capacitor juice from the electrolytics. ALL of the electrolytics (except maybe the large 10000uf cap) will have to be replaced, including on the equalizer board, and under the shielded area where the 7.2mhz crystal is.
Some people may not know this, but the Bose radios are always on, the audio is just muted when you press the on/off button. So your Bose wave radio may have been on constantly for 20+ years.
Once the transformer and equalizer are removed, disconnect the battery connectors from the box to the board, they are just pressed in place. The board can be removed just by releasing a couple of small black tabs.
Here is the back side of the board.

Once that is done begin replacing the electrolytic capacitors. I pick one value find and mark all of that value and then replace them. I mark the tops of the caps to make it easier to tell which ones I replace. You may smell a fish odor when desoldering, that is left over cap juice YUMMY!
WARNING!
be very careful of the traces on the circuit boards, they can easily be broken or the pads can break off when removing the caps. I broke one today, and fixed it with a small length of phone wire.
I started with the 10uf 16v caps, I replaced them with 16v, 35v, or 50v since that is what I had.
main board Electrolytic caps used in this radio
22 - 10uf 16v
4 - 1uf 50v
1 - .1uf 50v
4 - 0.47uf 50v
1 - 2.2uf 50v
3 - 3.3uf 50v
3 - 4.7uf 35v
4 - 47uf 16v
2 - 47uf 50v
3 - 100uf 16v
3 - 100uf 25v
1 - 220uf 16v
1 - 470uf 35v
total 52

This is the second one of these that I have found. This information is for the Generation 1 Bose wave Radio, the other radios have different circuit boards.
I was very careful and only broke one trace, but I did mess up about 4 pads and had to do some "fancy" soldering. I double checked the polarity of all the caps (fixed one) and powered it up. It works just fine. The next step is to recap the display board.
To get to the display board, use a small screw driver in the 4 square holes on the bottom of the main case.


Electrolytic caps in the display board
2 - 1uf 50v
1 - 4.7uf 35v
2 - 47uf 16v
1 - 220uf 6.3v
All the caps on the display board are very short so mounting replacements can be a problem. They can only stick up as high as the display, so some may have to be bent over.
Make sure to clean the green plastic lens as it will usually be filthy.


