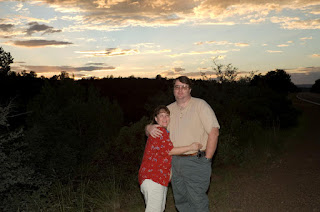
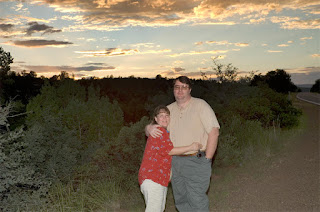
 I took this picture on a tripod with the flash set to rear sync. The picture is not particularly bad, the sunset is nice but a little bright. The background behind us is almost completely black.
Step one - in Photoshop press Control J to create a duplicate image.
Step two - on the menu bar select Image/adjustments/desaturate.
you should now have 2 layers, one that looks like the picture above and the other that looks like this:
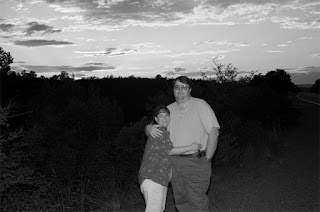 Step three - with the desaturated layer selected on the menu bar select image/adjustments/invert.
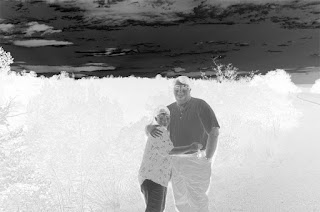 Step four - with the second layer selected change the blending mode to soft light.
Your image will now look like this:
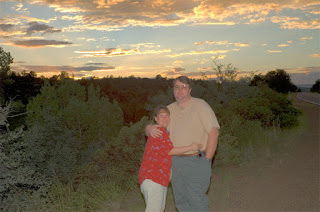 The image is "technically" perfectly exposed but doesn't look quite right.
Step five - with the second layer selected from the menu bar choose Filter/Blur/Gaussian Blur. Move the slider all the way to the right. Click OK.
Your Second layer will look sorta like this:
 Your completed picture would then look like this:
 Notice that the Sunset has been slightly darkened and the dark background has been brought out. My wife and I have also been ever so slightly darkened as well.
You can now Merge the layers down, convert to 8 bit, and save as a jpeg if you want.
This technique works best on 8 bit jpeg's. It works ok on some 16 bit pictures.
To automate this process you can create an "Action" and assign it a function key, on my computer I have f2 set to do this. Consult your Photoshop help on how to create an Action.

No comments:
Post a Comment