
You know what do.
3/20/2013
3/11/2013
Hallicrafter S-38 (Original)
My sister (while Antiquing) Spotted an old radio for about $40. I asked her to describe it and it was a Hallicrafter S-38. I almost did not have her buy it, but after looking on ebay at similar ones in similar condition, it was not a bad deal for a non working tube radio. So I had her get it.
This one was made on June 3, 1947, and it was in pretty crunchy condition as seen here:

It needed a lot of work. I ended up replacing all the electrolytics ( the big Yellow can with wires out the end), All the paper caps (the brown waxy looking cylinders), all the Resistors, Some of the crunchier wiring, the speaker, and 4 of the mica caps. I also replaced 1 tube, someone had put a 50L6GTin place of the 35L6GT This is the after pic.

Theses radios are a bit on the dangerous side and the chassis is hot (electrified). The chassis is insulated from the metal case with 4 rubber grommets. I picked up replacements at Ace Hardware. I also replaced the missing power cord with a polarized one and made sure the hot wire goes to the switch. Everything went well until the antenna ground touched the case (black scorch mark on the chassis between the brown ovals in the pic below). So now the CW circuit does not work right. Everything else works fine.

The CW circuit is used to listen to old style radios with Morse code and it is helpful in tuning in a station. It is not really needed but I am bummed it is not working. I am researching a fix.

Otherwise it is a great little radio.
3/10/2013
Refurbishing a Trailer Part VII
SO here is the Trailer with lights and wiring installed. We finished painting it this morning.

We installed the chains.

Here is the completed trailer.

We decided not to install the fenders at this time.

We got 2 sheets of plywood and Chris painted them with some redwood stain no.9.

Registration will come later.

It almost looks like professionals did it.
3/09/2013
3/03/2013
Refurbishing a Trailer Part VI
So we are on the home stretch. This weekend we prepped the entire underside of the trailer for painting. We found some paint that is supposed to turn rust in to a protective coating.

We painted all the leaf spring parts and the leaf springs. Re-assembled everything. Drilled holes in the bolts for the cotter pins. Then painted everything on the underside of the trailer.

At this point the remainder of the work needs to be done in the front yard as we would not be able to easily get the trailer through the gate with the wheels on.


Once the axle was attached to the leaf springs we flipped the trailer over.


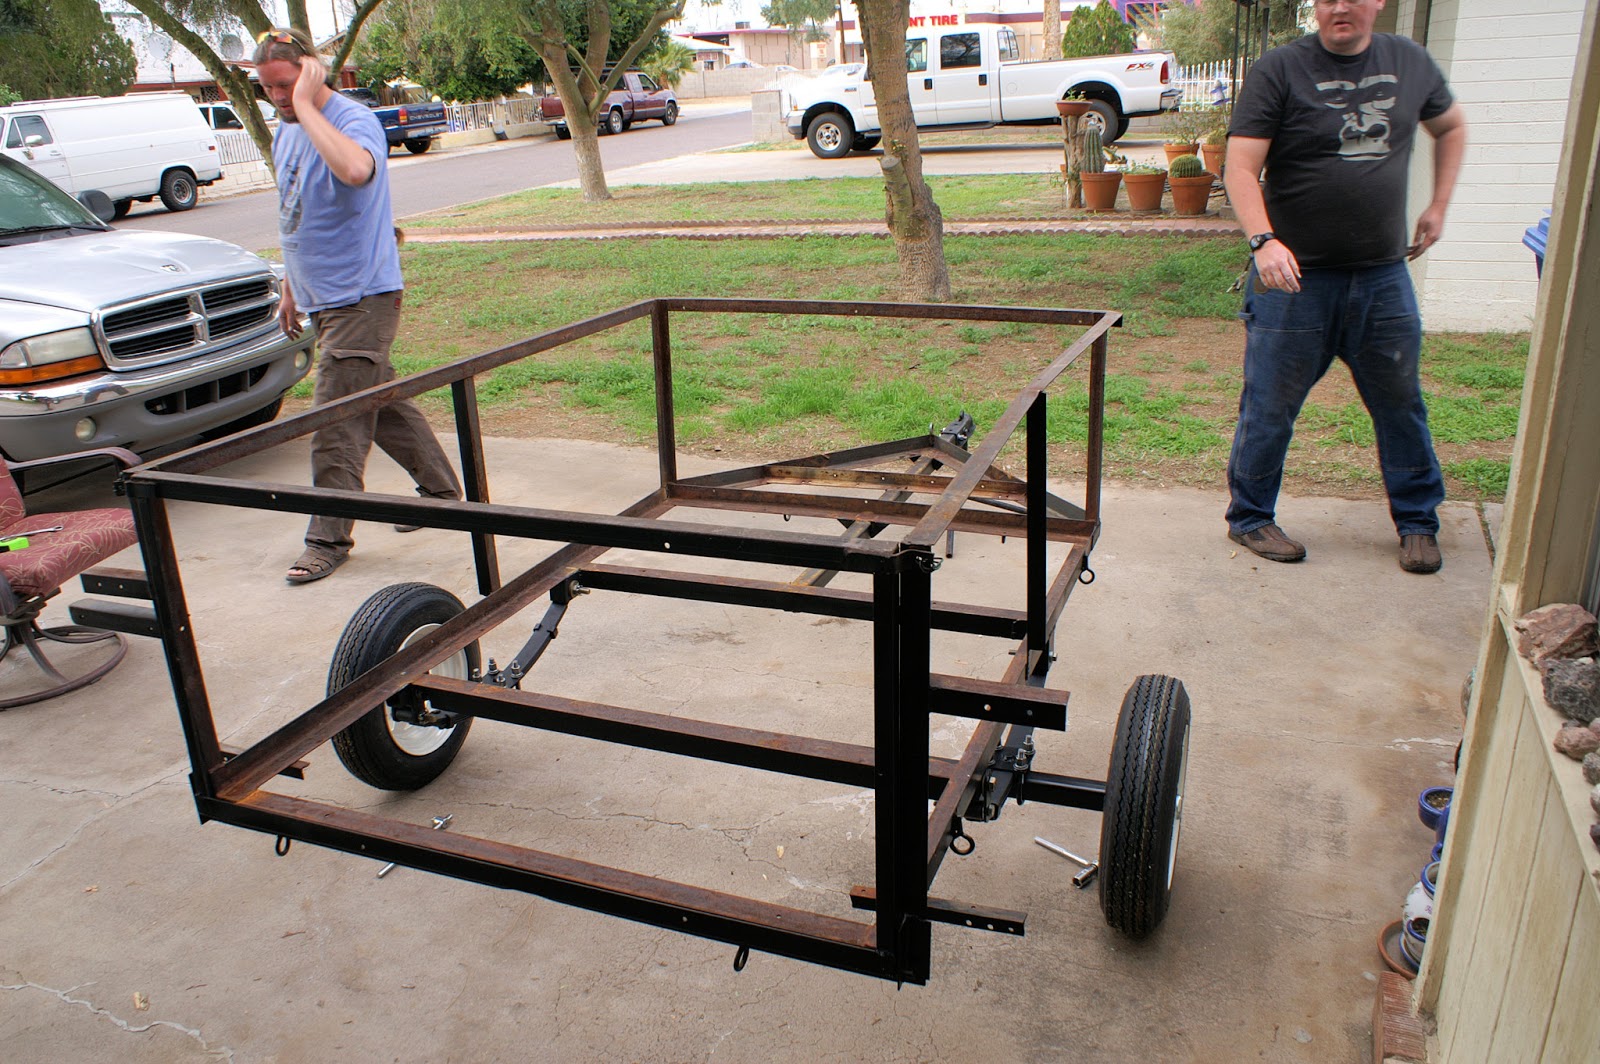
We installed the brake lights and wiring and took it on a very short test drive. I forgot to take pictures of the brake lights and wiring and will post that next week.
What is left to do:
Install the fenders.
Paint the top side of the trailer.
Install wood floor and side boards.
Register the trailer.
Subscribe to:
Posts (Atom)