3/10/2013

Refurbishing a Trailer Part VII

SO here is the Trailer with lights and wiring installed. We finished painting it this morning.
 We installed the chains.
 Here is the completed trailer.

 We decided not to install the fenders at this time.
 We got 2 sheets of plywood and Chris painted them with some redwood stain no.9.
 Registration will come later.
It almost looks like professionals did it.

3/09/2013

3/03/2013

Refurbishing a Trailer Part VI

 So we are on the home stretch. This weekend we prepped the entire underside of the trailer for painting. We found some paint that is supposed to turn rust in to a protective coating.
 We painted all the leaf spring parts and the leaf springs. Re-assembled everything. Drilled holes in the bolts for the cotter pins. Then painted everything on the underside of the trailer.
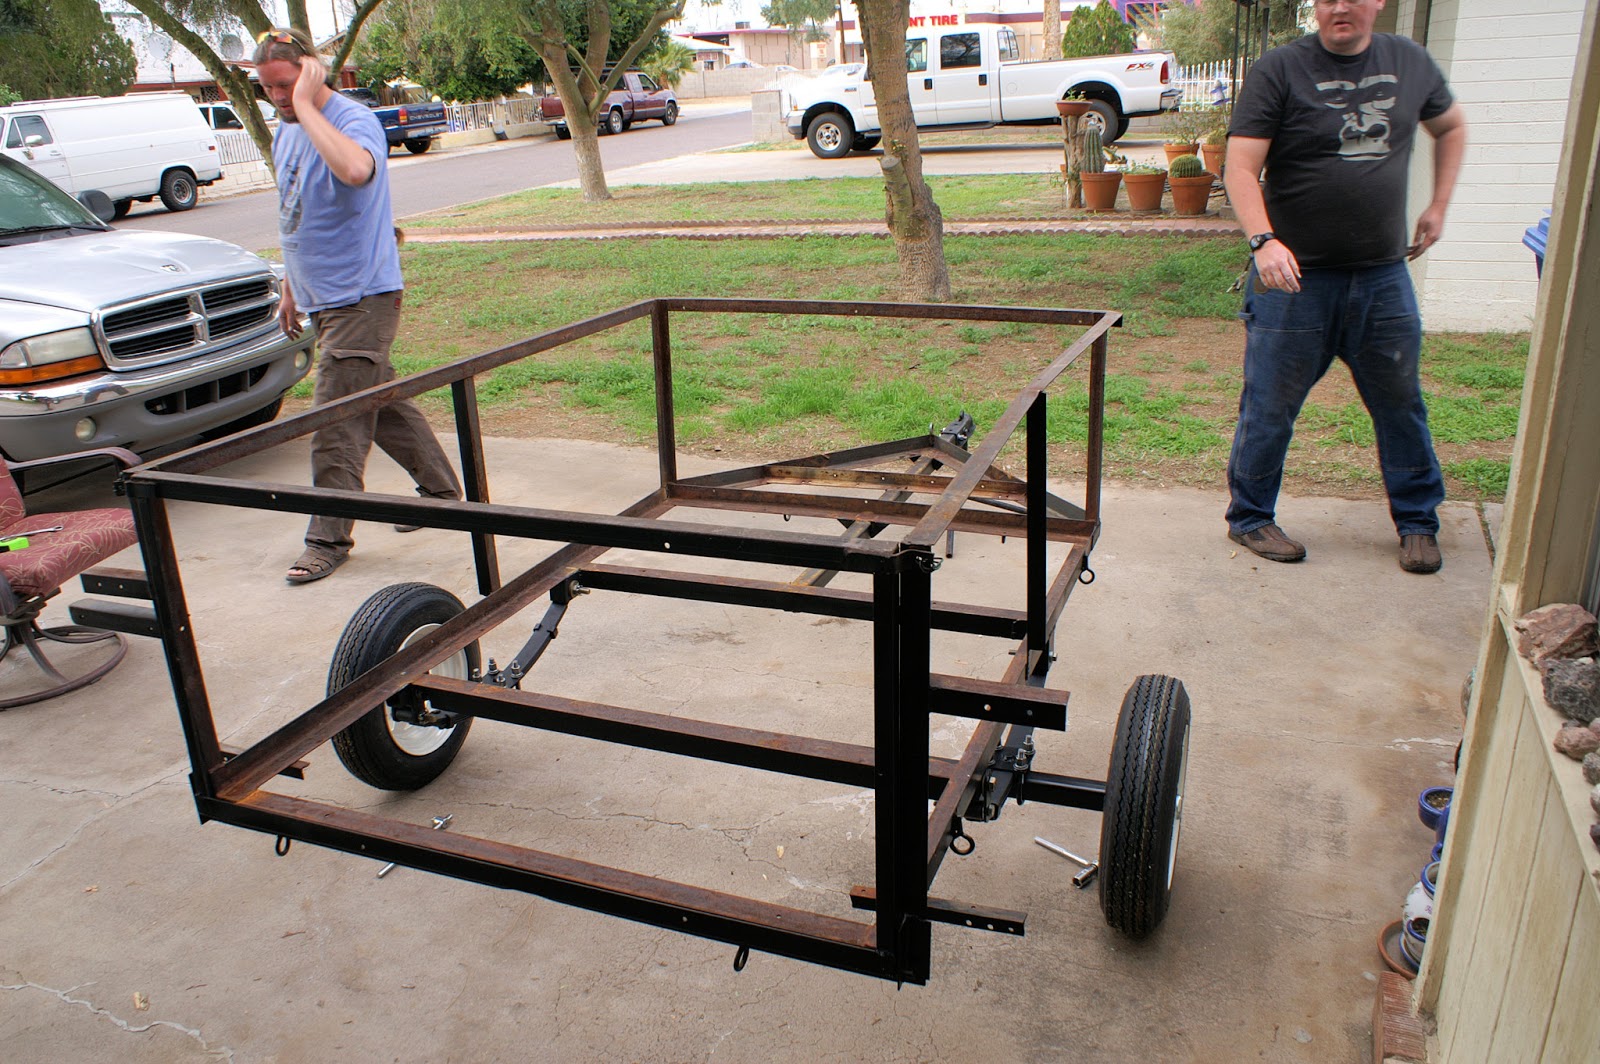
 At this point the remainder of the work needs to be done in the front yard as we would not be able to easily get the trailer through the gate with the wheels on.


 Once the axle was attached to the leaf springs we flipped the trailer over.
 

We installed the brake lights and wiring and took it on a very short test drive. I forgot to take pictures of the brake lights and wiring and will post that next week.

What is left to do:
Install the fenders.
Paint the top side of the trailer.
Install wood floor and side boards.

Register the trailer.

2/24/2013

Refurbishing a Trailer Part V

Today we worked on the axle. We cut grooves in the spindles to match the weld seam inside the tube.
 Drilled 5/8 inch holes near the base of the spindle in the tube and then welded everything in place. We covered the spindles with Cardboard and aluminum foil to protect them while welding.
 We packed the bearings and installed the hubs.
  We test fit the axle on the leaf springs but found our U bolts are too short. Chris will see about getting replacements.

2/17/2013

Refurbishing a Trailer Part IV

We spent this day getting the second leaf spring mounted, and lined up as close to the first one as we could.
We had to make a front bracket that was taller as the 2 leaf springs are mis-matched. This side is shorter than the other side.
We also had to make new brackets for the expansion hinge because of the difference in bolt size.
Lining up the 2 springs required moving the trailer to the patio and leveling it as best we could. we used a straight edge, plumb bob, and levels. We managed to get it pretty close.
The big things that the bow of the 2 leaf springs are the same height and the holes are somewhat lined up.
Next week we will be building the axel and mounting the spindles to it.

2/10/2013

Refurbishing a Trailer Part III

 I obtained a 64 inch section of 2x2x1/4" square tubing. We notched out a section of the square spindle end to accommodate the seam on the inside of the square tubing. the spindle fits in nicely.
 We attached the front hinge for the leaf spring on one side, installed the bushing in the leaf spring and temporarily mounted it on the trailer. I welded the hinge in place after checking that it was as true as I could get.
 The rear hinged and its expansion joint were attached, lined up and clamped in place. Then the bolts removed and the hinge welded in place. The expansion joint is connected at about ~2 degrees over center to prevent it from moving in the wrong direction during a bounce.


 The fully attached Leaf spring.
 We also added gussets to the tonge for extra strength.